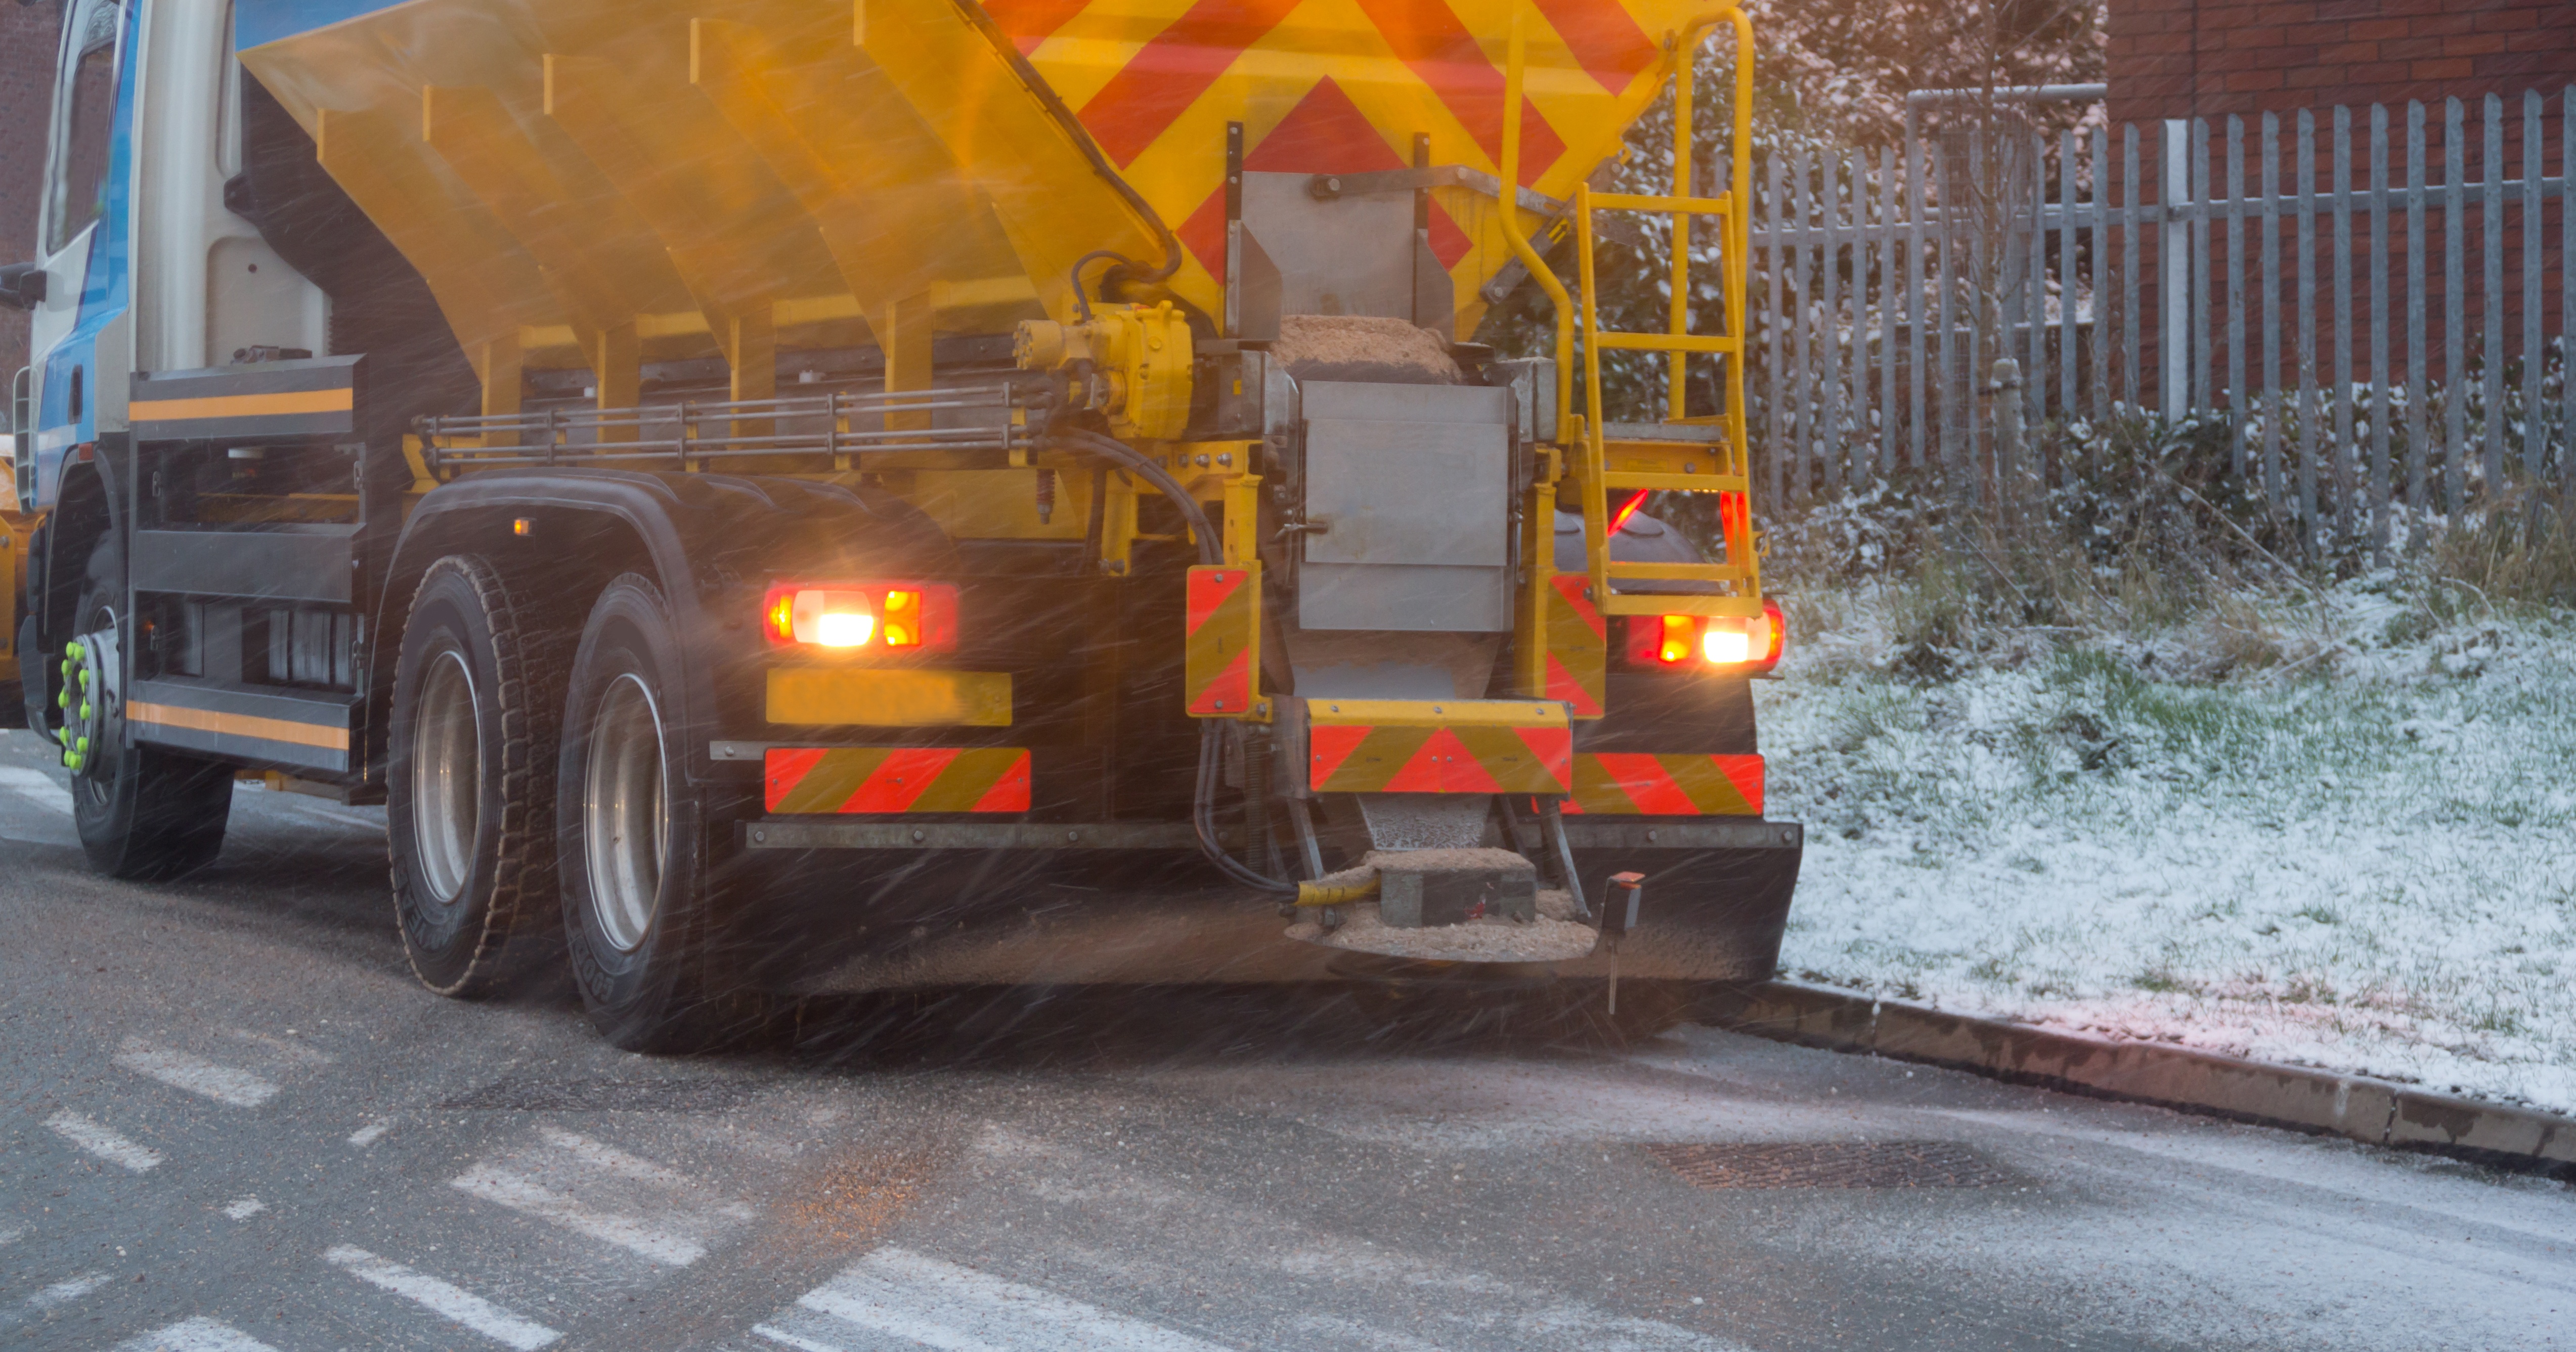
Snowfighters that operate snowplows can definitely tell if the blade on their plow isn’t operating or working correctly, but the performance and effectiveness of the salt spreader which isn’t readily visible is less easy to tell if it is working correctly. To ensure spreaders are working properly users should perform routine maintenance and calibrate them.
While some operators only check the calibration at the beginning of the season or when something goes wrong, it would be wise to be much more proactive. James Truan, vice president of sales and marketing for SnowEx, believes calibration should be checked on a regular basis. “Because each type of material flows differently, you should calibrate your spreader each time you use a new material.”
Calibration is critical a recent comprehensive study by environmental researchers at the University of Waterloo and Environment Canada, examined whether the best practices as outlined in Canada’s Road Salt Code of Practice actually delivered the improved environmental outcomes they promised. The answer was a resounding, yes; best practices in salt management deliver significantly improved environmental results. Equipment Calibration was one of the categories where a high degree are the amount of salt used is affected. The groundwater monitoring data revealed that that chloride levels were half the original level that was present before best practices were employed clearly establishing that best practices provide significant environmental improvements.
An advantage of using Ice Slicer is the better efficacy seen that with proper Ice Slicer application, plow drivers are able to service 40-100% more lane miles/truckload than with using white salt. This generates some significant snow fighting advantages:
- Ability to clear critical primary roads much faster
- Leverage to reach secondary and tertiary roads that plows would not have time to get to using white salt
- An increase in safe roads, which translates into a reduction of delays, crashes, injuries and fatalities
- Lower salt volumes required per storm
- Measurable savings on fuel consumption per storm
- More savings due to less wear & tear on vehicles and equipment because of a reduction in mileage to fight each storm
- With 40-100% fewer chlorides on the roads, corrosion-effects are significantly minimized. Longer service-life from vehicles, equipment, bridges, guardrails, etc. greatly lowers winter road maintenance budgets.
As for the calibration method, our friends at Redmond have outlined the following:
How to Calibrate your Spreader
We’ve all heard that calibrating your spreader is important — especially when it comes to Ice Slicer. But, how do you actually calibrate your plows? Here’s a no-fail guide to help you get your calibration done.
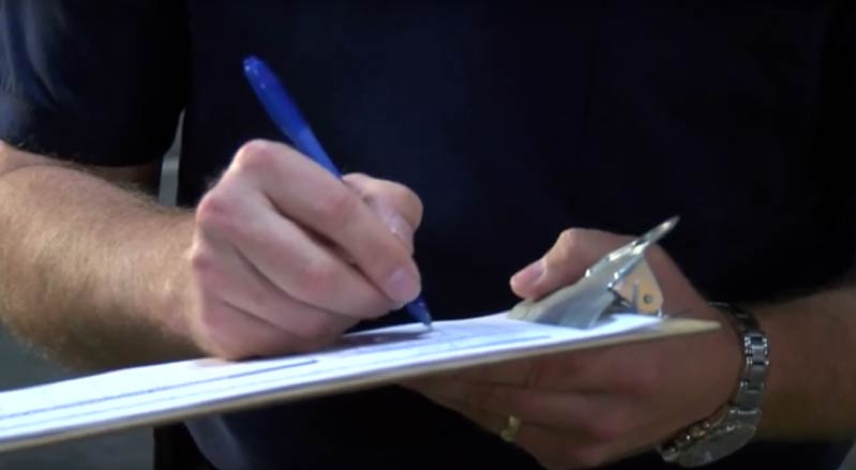
Step One: Write down which truck you’re calibrating. Don’t get lazy and think that by calibrating one truck you’ve figured out the calibration for all of them. It’s a fact that even if all your shed’s trucks are the same model, make and year — they’ll have different results. So, keep it organized, and download a calibration card for each truck in your shed.
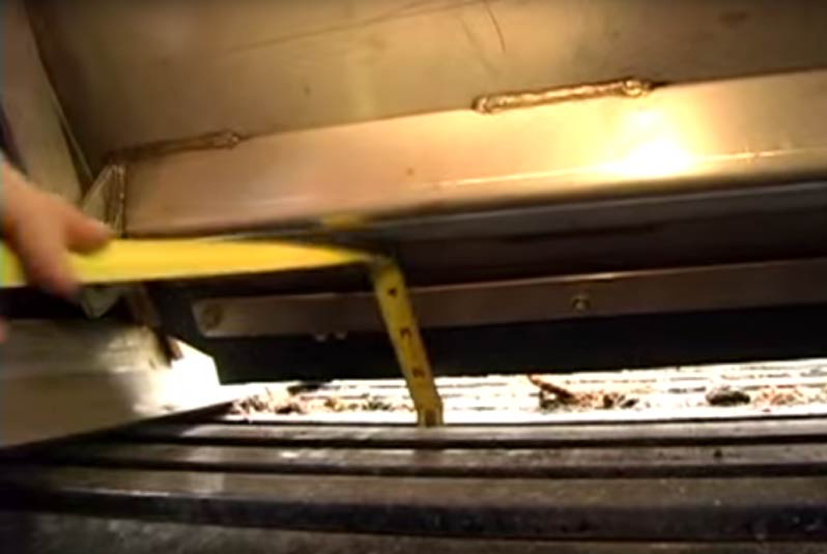
Step Two: Let’s talk about truck gates. Start by setting your truck’s gate to approximately 2 inches. Then, grab your measuring tape and walk to the back of your truck to see how high the gate actually is. To measure correctly, measure from the bed of the trailer right up to the bottom of the rubber. Adjust the height until you get it right. Write down the gate opening size in your calibration chart.

Here’s a quick tip. A lot of our Ice Slicer customers share that they typically leave their gate opening 1 -2 inches when using Ice Slicer.

Step Three: It’s auger time. Cut out a small square of paper and draw a straight arrow on it. Then tape (or add grease) to the square and stick it on your truck’s shaft with the arrow pointing up. This makes it easy to count the auger revolutions — every time the arrow hits 12:00 you know it’s rotated once.
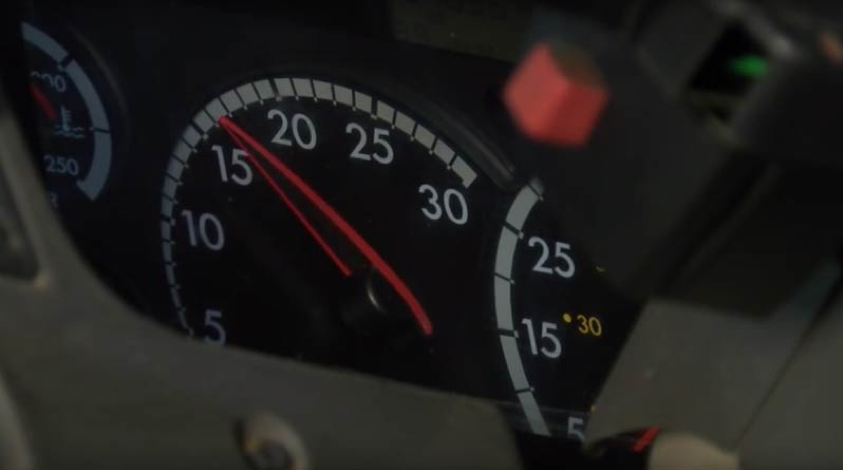
Step Four: Grab a friend from your shed and have him sit in the cab. Make sure he sets the auger to “1” and the Spinner Circuit to “0”. Stand next to the shaft while you have your friend (in the cab) rev the engine to 1,500 – 2,000 RPMs consistently. Grab a watch or a timer and count how many times the shaft revolves during the next 60 seconds. Write down how many times it revolved on your calibration chart under “Control setting 1” and column “A”- now do the exact same process for each of your auger settings.
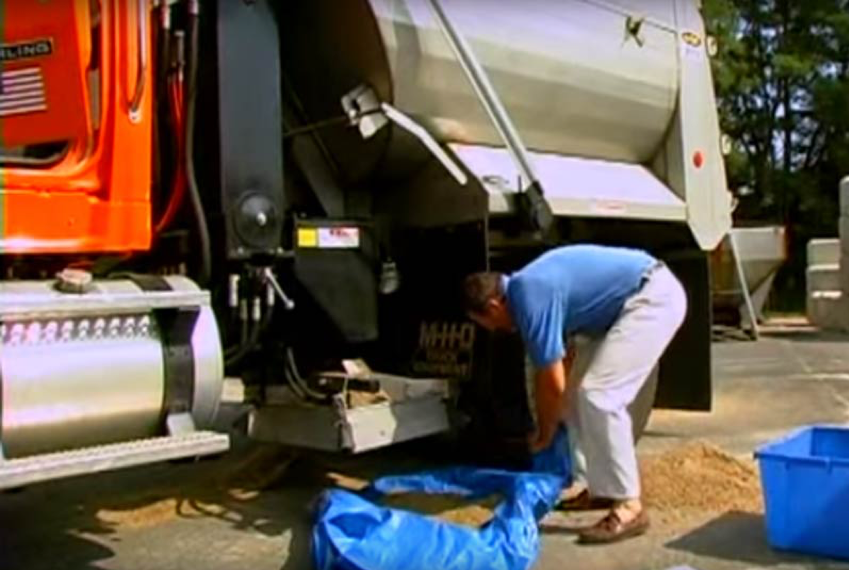
Step Five: Take a look at column “B” on your Calibration Chart — we are just about ready to fill this section out by measuring “discharge”. This step is really simple but you are going to need to gather a few supplies:
- A Scale – you don’t need anything fancy, the kind you stand on to measure your own weight will work just fine.
- A Bucket – put the bucket on the scale.
- A Tarp – to catch any Ice Slicer
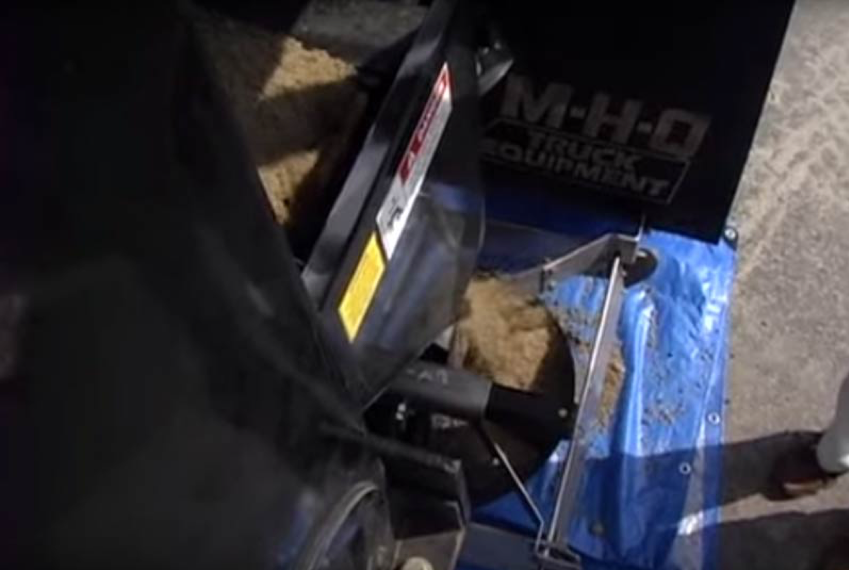
Step Six: Make sure your plow’s truck bed has the deicing material you plan on using while you plow. Then place your tarp under the spinner. Turn the spinner off on your truck and keep the auger on a low setting. Release the salt onto the tarp until your shaft does on full revolution. Gather all the salt that your truck released onto the tarp and put it into a bucket. Place the bucket on a scale to measure the weight of the salt. Enter the weight in column “B” of the Calibration Chart.
Note: When you are filling out column “B” remember to record the weight on your scale in pounds not kilgrams.
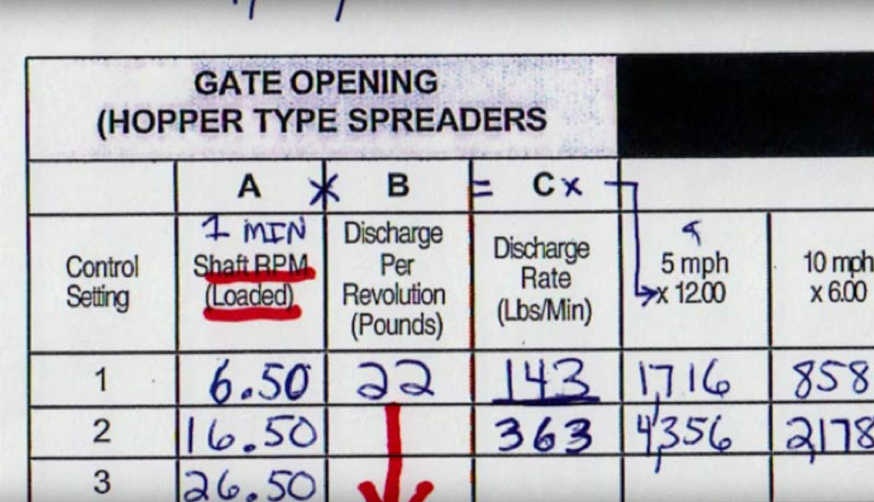
Step Seven: Let’s do some calculations. Grab a calculator, or just use the one commonly found on your phone.Take a look at your Calibration Chart’s three columns: A, B & C. So far, we’ve filled out A & B. To find “C” a.k.a the “Discharge per Minute” all you have to do is multiply A by B. Find “C” for all the controls settings 1 -10.
Want to Learn More?
There are plenty of calibration videos that can help you out. In fact, that’s where we found the images above. For more great resources, check out LTAP and for another great video, watch The City of Farmington Hills, Department of Public Works video.
If you would like to talk to a representative about optimizing your deicing or anti-icing program, feel free to contact EnviroTech at 1-800-369-3878.

For more information about EnviroTech Services’ please visit our website at www.envirotechservices.com or call 800-881-5848.